
Last updated October 15, 2026
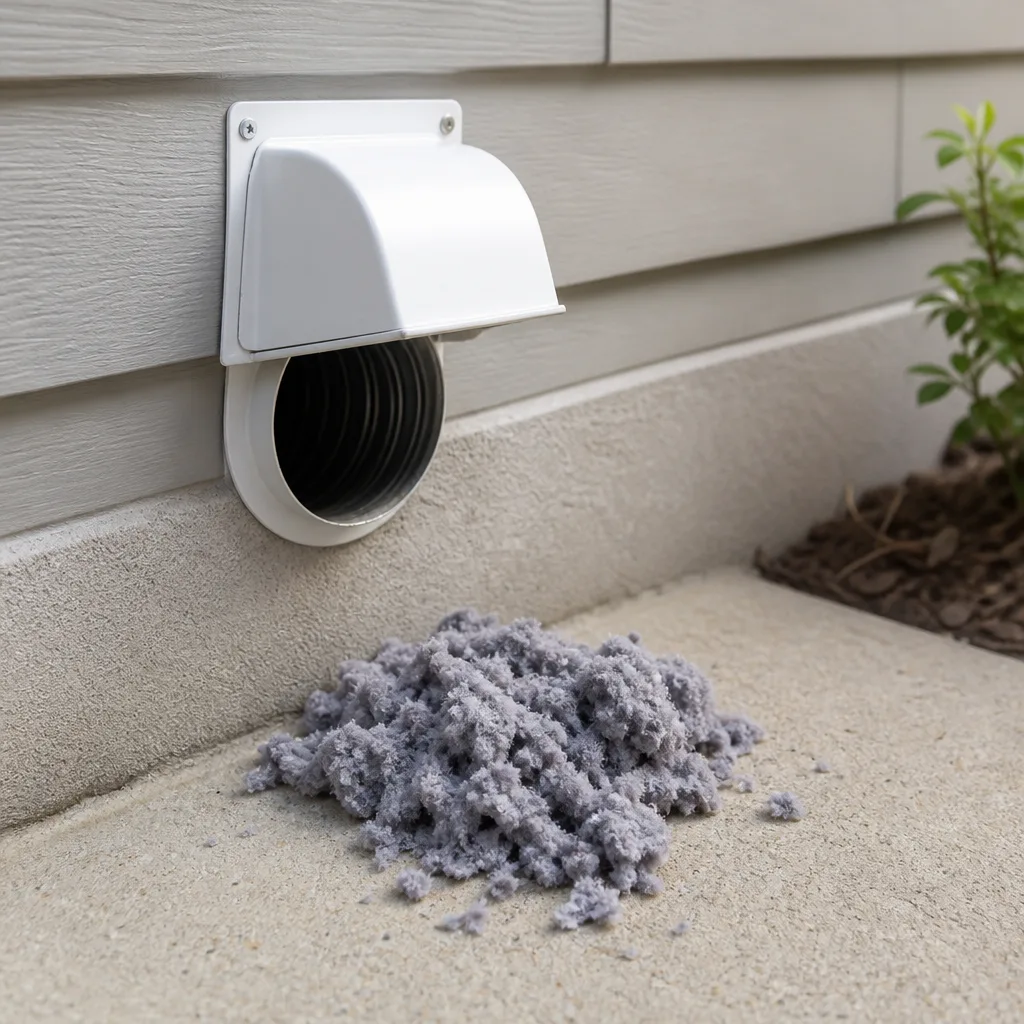 Dryer vent cleaning
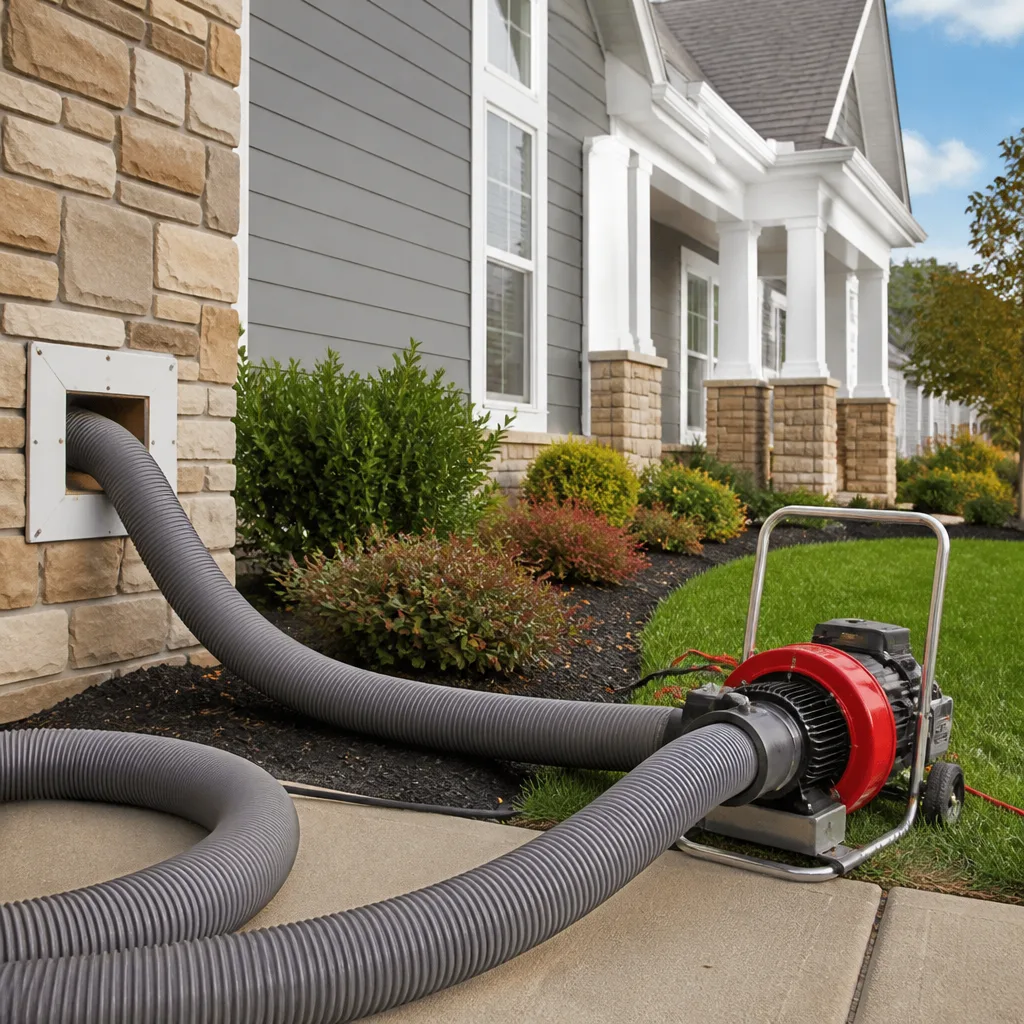 Whole-home duct cleaning
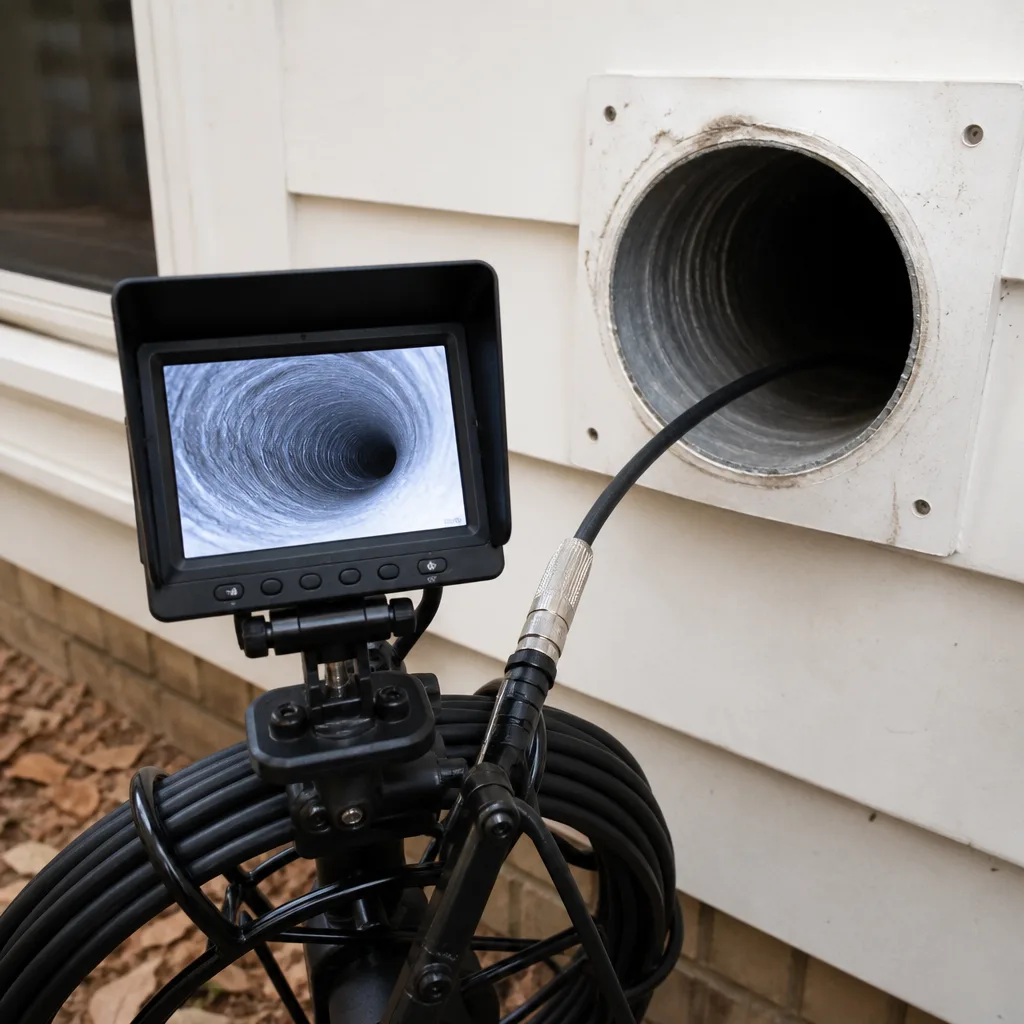 Camera inspection
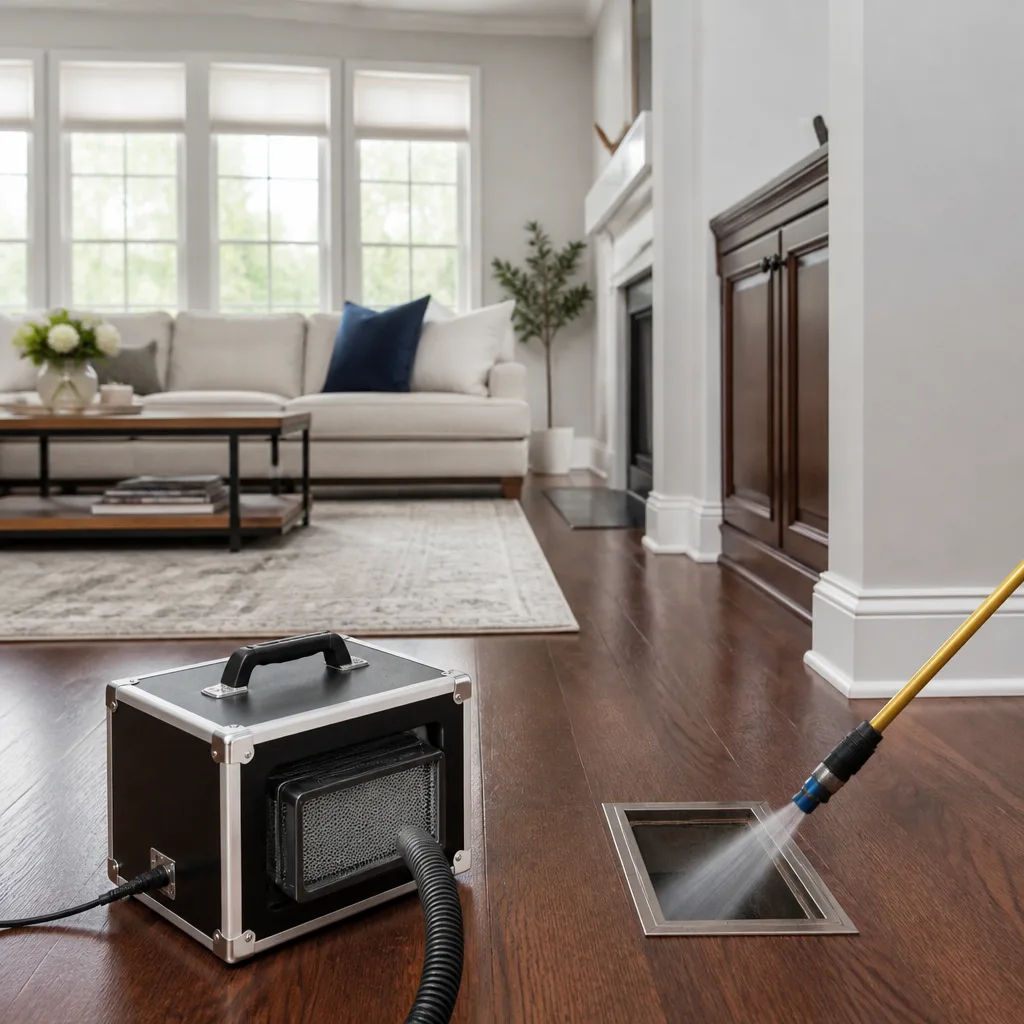 Sanitizing & deodorizing
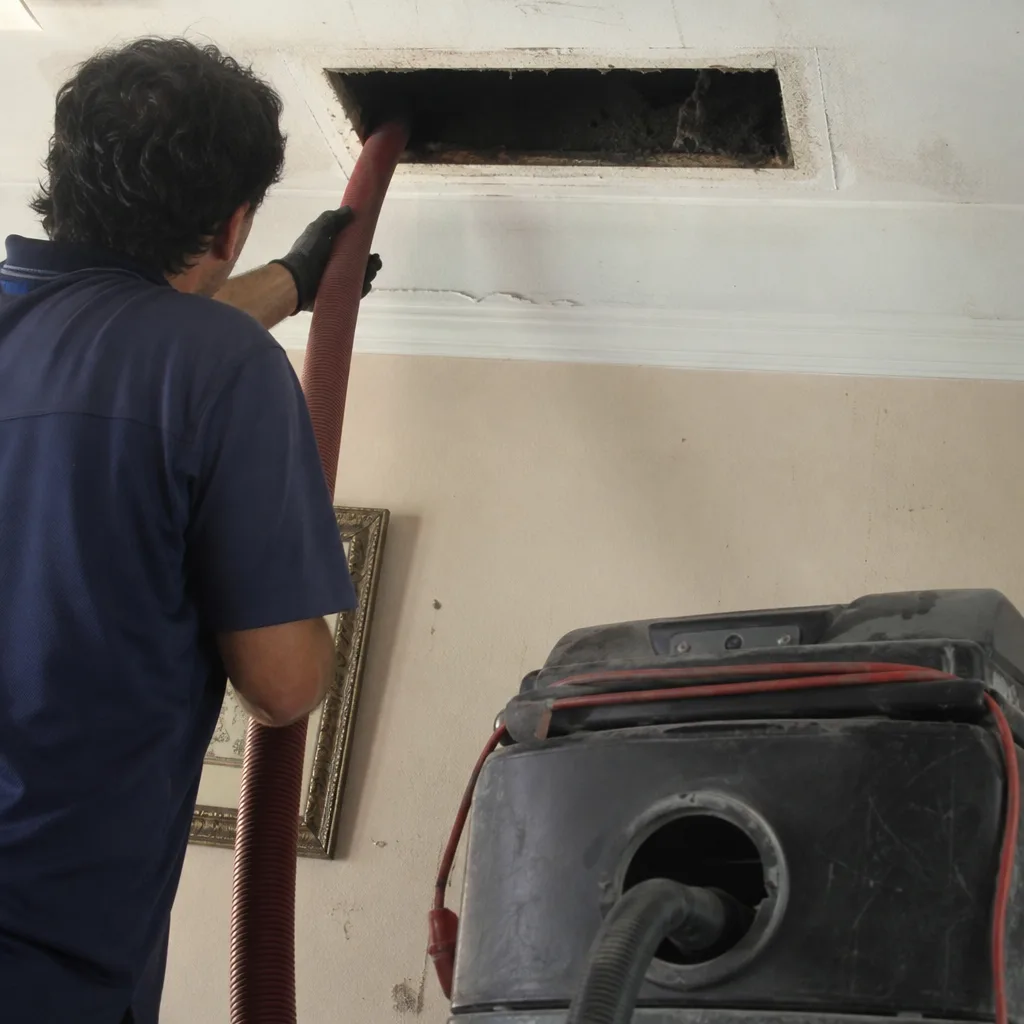
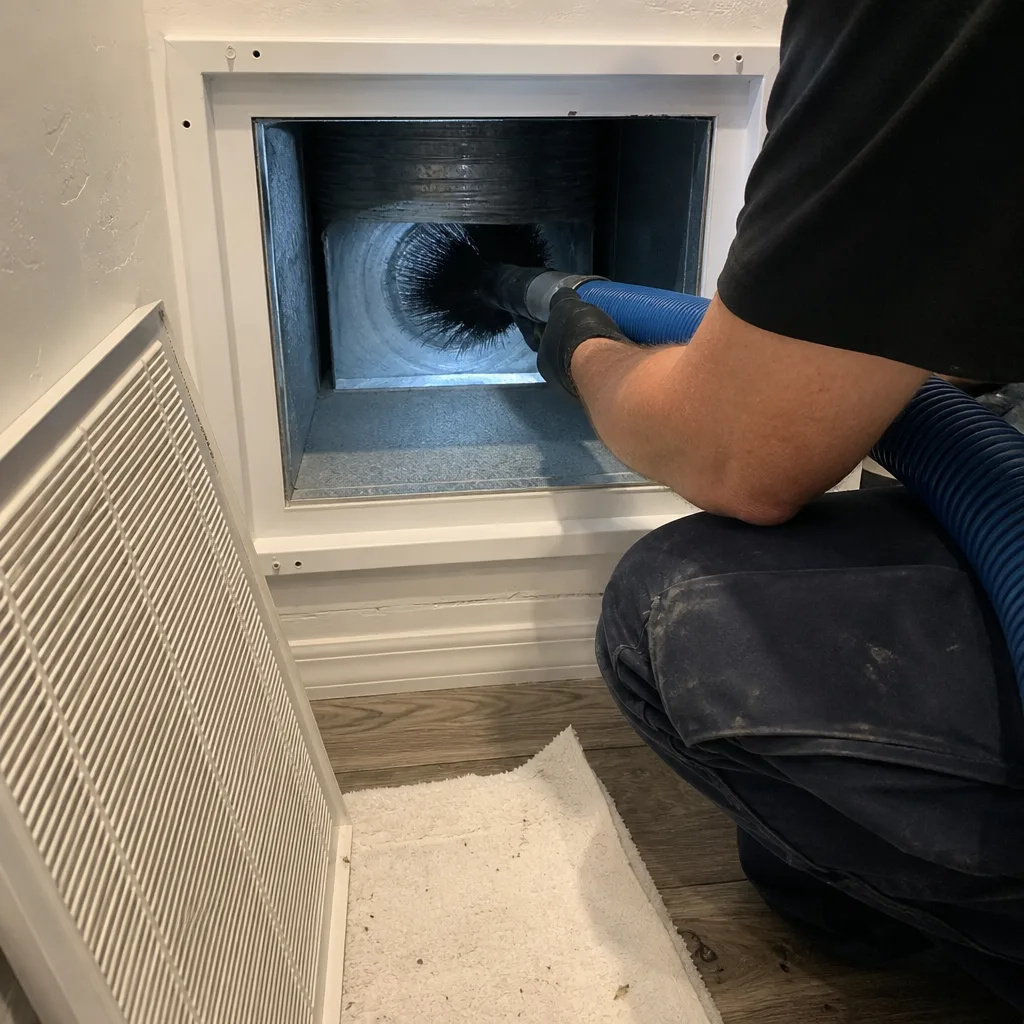
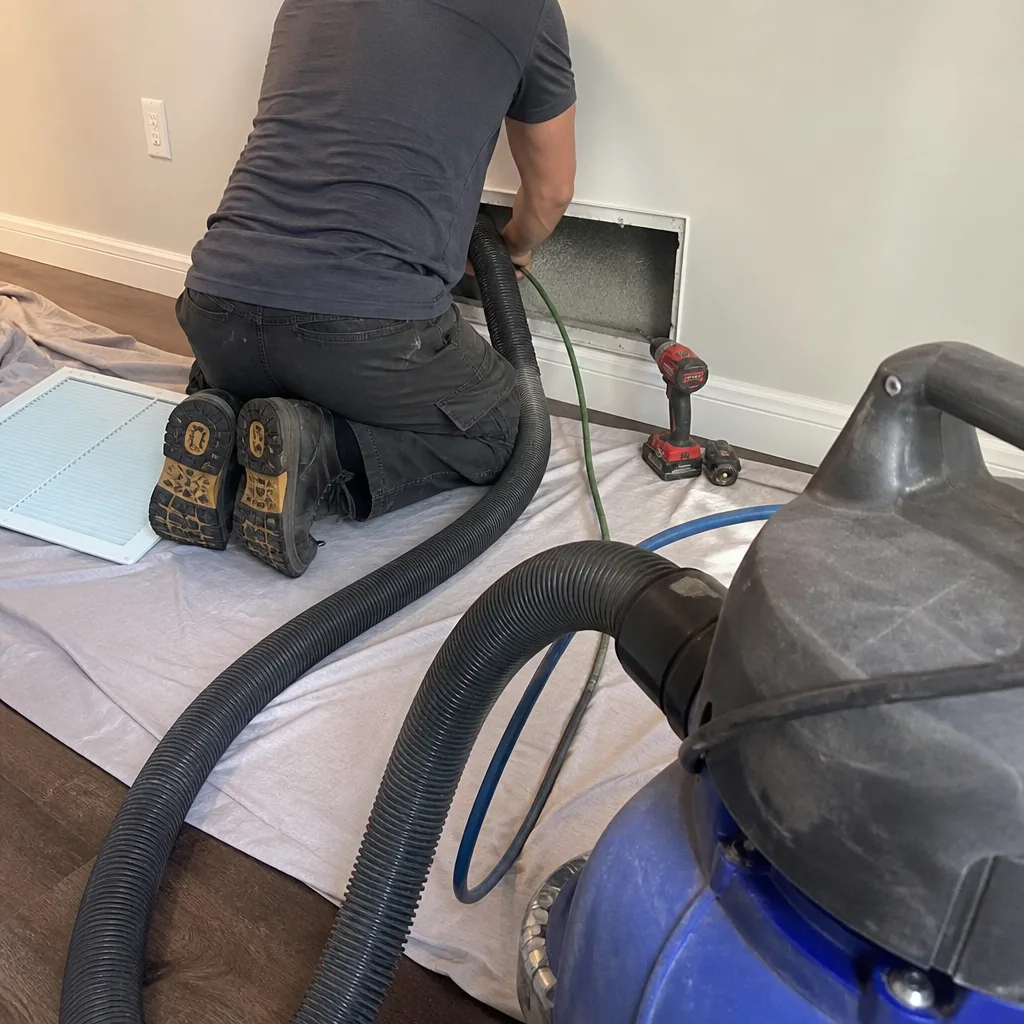
Whole-system duct and dryer vent check with before-and-after photos - you see exactly what came out of your vents
That "$99 whole-house special" is a bait ad - the real number appears once they are in your hallway, or the "clean" is a shop-vac at the register. We photograph the inside of your ducts before and after instead.
Dryer Vent Cleaning Maintenance Checklist for Orlando Homeowners
FEMA data attributes roughly 2,900 residential dryer fires a year to failure to clean. But here’s what that statistic misses: the metric that best predicts your Orlando home’s fire risk isn’t how long it’s been since your last cleaning. It’s how long your vent run is. And in Orlando’s newer subdivisions, the average vent run is about 30% longer than in older homes. That matters because every extra foot of duct is another foot where lint can accumulate, slow the airflow, and sit against a heating element’s exhaust. This guide gives you a month-by-month maintenance plan tied to actual fire risk indicators, not vague advice like “check for lint.”
Quick Answer
A proper dryer vent cleaning checklist for Orlando homeowners includes monthly lint screen washing, quarterly visual checks of the exterior vent cap, semi-annual airflow testing at the vent exit, and annual professional inspection or cleaning. The single most important variable in Orlando is vent run length: homes with horizontal runs over 12 feet or more than two elbows need cleaning every 6 to 12 months, not the 12 to 24 months often quoted for shorter, straighter vents. If you can’t feel strong airflow at the exterior cap while the dryer runs, that’s your signal to act now.
Styles & brands we work with
Table of Contents
- How Orlando Home Design Affects Dryer Vents
- Monthly Maintenance Tasks
- Quarterly Maintenance Tasks
- Semi-Annual Checks: Airflow Testing You Can Do Yourself
- Annual Professional Cleaning: The Schedule Orlando Homes Actually Need
- Aluminum Foil Ducts vs. Rigid Metal: Why Florida Code Cares
- Pass/Fail Indicators for Every Task
How Orlando Home Design Affects Dryer Vents
If you bought a home in an Orlando-area tract development built after 2000, there’s a good chance your dryer vent has more bends than the floor plan suggests. Builders like Pulte and DR Horton often place laundry rooms in the center of the home, away from exterior walls. That means the dryer vent doesn’t just punch straight through the wall behind the appliance. It runs up through the wall cavity, takes a 90-degree turn through the attic, travels horizontally across the ceiling joists, and exits through a soffit or roof cap.
We’ve measured vent runs in Lake Nona, Winter Garden, and the newer sections of Oviedo that exceed 25 feet of total duct length with three or four elbows. Compare that to a 1970s ranch in Conway or Colonialtown where the laundry room backs directly onto an exterior wall and the vent run is six feet with one bend. The difference isn’t cosmetic. Every 90-degree elbow adds the equivalent of about 5 feet of straight duct to the airflow resistance. A 25-foot run with four elbows behaves like a 45-foot straight run. Lint that would blow through a short vent in a single cycle now settles in every turn.
This is why the standard “clean your dryer vent once a year” advice fails so many Orlando homeowners. A six-foot vent can go two years between cleanings without trouble. A 25-foot vent with multiple bends starts losing airflow within six months. The checklist you actually need depends on your vent geometry, and most homeowners have never measured it.
If you’re not sure what your vent run looks like, you can get a rough sense in five minutes. Measure the distance from the dryer to the nearest exterior wall. If the laundry room is interior to the home, there’s no direct wall exit, and that’s your first clue the vent is traveling through the attic or crawlspace. You can also check the exterior of your home for the vent cap location. If it’s on the roof or under a soffit rather than on a side wall, you’re dealing with a vertical section as well, which creates its own venting challenges for Orlando’s humid climate. You can find more detail on our Dryer Vent Cleaning in Orlando page.
Monthly Maintenance Tasks
Monthly tasks are about preventing the lint from entering the vent in the first place. They take about ten minutes total.
- Wash the lint screen with soap and water. This is the single most important monthly task, and most people skip it. Lint screens catch visible lint, but they also accumulate an invisible film of fabric softener residue and detergent. That film clogs the screen’s mesh, and the clogged mesh forces the dryer to work harder. The harder the dryer works, the more heat it requires to move air through the screen. The more heat, the faster lint inside the vent dries into a flammable cake. Rinse the screen under running water. If water beads on the surface instead of flowing through, the screen is coated and needs scrubbing with dish soap and a soft brush.
- Check the lint screen itself for damage. Look for tears, separated seams, or a screen that no longer seats tightly in its housing. A damaged screen lets lint bypass it entirely, sending loose debris straight into the vent. Replacement screens are cheap, usually $15 to $30 for common models, and worth every dollar.
- Vacuum the lint screen housing. Even with a healthy screen, some lint finds its way around the edges. Use the crevice tool on your vacuum to clean the slot where the screen slides in. A flashlight helps here. The goal is to remove the loose lint before it gets pulled into the airflow when the dryer starts.
- Shake out the dryer drum after a load of towels. Towels are the worst lint producers in the laundry room. After a towel load, run a damp cloth around the drum to pick up fibers that haven’t reached the screen yet.
- Do a one-minute visual check of the exterior vent cap. Walk outside and look at the cap. It should be closed when the dryer isn’t running, and the flaps should move freely. If the cap doesn’t fully close, Orlando humidity is getting into the vent whenever the dryer sits idle, and humid air makes lint stick to duct walls instead of blowing through.
Quarterly Maintenance Tasks
Quarterly tasks shift from prevention to early detection. The goal is to catch a vent that’s beginning to restrict airflow before it becomes a fire hazard or a dryer killer.
- Do a full visual inspection of the visible ductwork. Pull the dryer away from the wall, unplug it first, and look at the transition duct, the flexible piece connecting the dryer to the wall inlet. Look for kinks, crush marks, flat spots, or sections that have come loose from their clamps. Even a small flat spot in a flexible duct can reduce airflow by 30 percent or more.
- Feel the exterior wall around the vent cap while the dryer runs on high heat. The wall should be warm but not hot. If the wall around the cap is hot, the vent is not moving air quickly enough, and the heat from the dryer exhaust is baking into the wall cavity instead of dissipating outside.
- Check the vent cap flap operation. Hold a flashlight up to the vent cap. The flap should be fully open when the dryer runs and fully closed when it doesn’t. A flap that hangs partially open is an invitation for Orlando’s insects, rodents, and humidity.
- Run a washcloth test on the lint screen’s airflow path. Turn the dryer on and hold a thin washcloth over the lint screen area outside the drum. It should pull firmly against the screen. If it just hangs there, the screen housing is clogged or the vent run is already restricting the airflow somewhere downstream.
- Note any new sounds coming from the dryer. A dryer that’s working harder to push air through a clogged vent often runs quieter because the airflow has slowed. The classic noise isn’t a bang or rattle. It’s a soft hum that gets gradually deeper over time, and then the dryer begins taking longer to dry the same load. If you’re noticing longer dry times, that’s not your dryer getting older. That’s your vent telling you it’s clogging.
Semi-Annual Checks: Airflow Testing You Can Do Yourself
Twice a year, you should benchmark your vent’s airflow. This gives you a pass/fail measurement, not a subjective feeling. Here’s how to do it without specialized equipment.
The tissue paper test. Turn the dryer on high heat with a dry load inside. Go outside to the vent cap. Hold a single sheet of tissue paper about one inch from the cap. The tissue should stand nearly horizontal, fluttering fast. If it barely moves or just wiggles, your airflow is restricted. If you’ve been running the dryer for 15 minutes and the tissue still doesn’t move, that’s an urgent signal.
The anemometer test. If you want a more precise number, buy an inexpensive handheld anemometer, usually $25 to $40 online. Hold it directly at the vent cap while the dryer runs on high heat. A healthy vent should read at least 1,800 to 2,000 feet per minute of air velocity at the cap on a short run. On longer Orlando runs with multiple elbows, anything under 1,200 feet per minute indicates significant restriction. Write down the reading. Next time you test, compare. A drop of 300 feet per minute or more between tests means the vent is accumulating lint faster than it’s leaving.
The drying time test. Time a full load of wet towels on high heat. If the load takes longer than 45 minutes to dry in an electric dryer, or longer than 50 minutes in a gas dryer, that’s a restriction signal. Most healthy dryers should finish a towel load in 30 to 40 minutes. If you’re noticing your towel loads are consistently running longer than they used to, check the vent before the heating element.
Annual Professional Cleaning: The Schedule Orlando Homes Actually Need
Here’s a real-world schedule, based on what we see in homes across Orlando’s neighborhoods:
- Short runs (under 10 feet, one elbow): Professional cleaning every 18 to 24 months. Common in older neighborhoods like Conway, Azalea Park, and parts of College Park where laundry rooms sit on exterior walls.
- Medium runs (10 to 15 feet, two elbows): Professional cleaning every 12 to 18 months. Common in homes built from the 1980s through the early 2000s.
- Long runs (over 15 feet, three or more elbows, or any vertical section): Professional cleaning every 6 to 12 months. We see these constantly in newer Orlando-area tract developments, including homes in Lake Nona, Horizon West, and parts of St. Cloud, where the laundry room sits in the center of the floor plan.
- Any home with a roof or soffit vent termination: Professional cleaning every 6 to 12 months. Vertical runs collect lint at the bottom of the vertical section, where gravity works against the airflow.
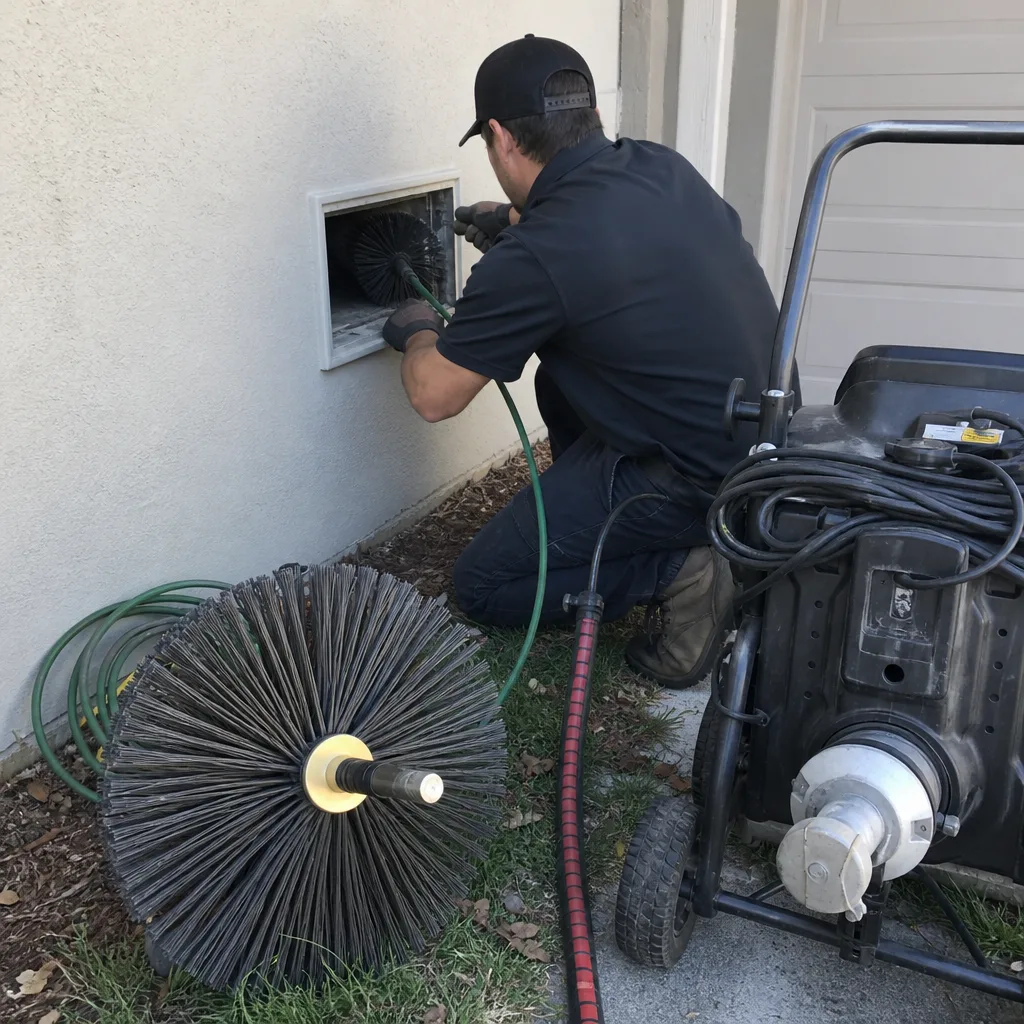
The professional cleaning itself uses a rotary auger system, which is what brands like Rotobrush make. The auger spins a brush head through the entire vent run while a negative-pressure vacuum pulls loosened debris out through the exterior opening. The key distinction: a professional cleaning should remove the lint that’s caked onto the duct walls, not just the loose material. That caked-on layer is the actual fire hazard. Loose lint slows airflow. Caked lint is fuel waiting for a spark. You can learn more about how this process works on our Air Duct Cleaning in Orlando page, which covers the equipment and methods in detail.
If you’re on a long-run schedule and you’ve been either doing nothing or doing the DIY brush kits from a home improvement store, the first professional cleaning is going to be the heaviest. The brush kits that attach to a drill do a decent job on short, straight runs. They struggle badly on long runs with multiple elbows, and they leave the caked layer behind. That’s the layer professionals remove. If you want to understand the full process, including what the equipment actually looks like and how long it takes, that’s covered in our HVAC Cleaning in Orlando guide.
Aluminum Foil Ducts vs. Rigid Metal: Why Florida Code Cares
If you look behind your dryer and see a shiny silver flexible duct, you’re looking at either foil or semi-rigid aluminum. The foil accordion type is the one that looks like a Slinky covered in aluminum foil. The semi-rigid type looks like corrugated metal, and it holds its shape when you bend it.
Florida building code, following the International Residential Code, now requires dryer vents to be constructed of rigid metal duct with smooth interior walls and a minimum thickness. The aluminum foil accordion ducts are no longer code-compliant for new installations. Here’s why: the corrugated interior surface of a foil duct creates turbulence in the airflow. That turbulence causes lint to drop out of the moving air and settle inside the duct. The result is a vent that clogs far faster than a smooth-wall rigid metal duct, and it’s a fire hazard in the making.
Insurance companies in Florida have caught on. Some property insurers now look at the dryer vent configuration during inspections, and a foil accordion duct can trigger a recommendation to replace it. The reasoning is straightforward: foil ducts are linked to more dryer fires, and Florida’s high heat and humidity accelerate the conditions that make those fires likely. If your home has a foil accordion duct, replacing it with rigid metal is one of the highest-impact dryer vent upgrades you can make. The replacement cost typically runs $150 to $350 for most Orlando homes, depending on the run length and whether the vent travels through an attic or wall cavity.
The transition duct, the flexible piece connecting the dryer to the wall inlet, is a different story. Code allows a short flexible section here, maximum 8 feet, to make it possible to pull the dryer out for cleaning. But that section should be semi-rigid aluminum, not foil. And if you see a foil transition duct, you should replace it. It costs about $20 to $40 for a semi-rigid replacement at any home improvement store, and it reduces the lint dropout problem at the first connection point.
Pass/Fail Indicators for Every Task
Here’s the entire checklist distilled into a pass/fail format. If you’re a visual person, print this section and stick it on the side of the dryer.
Monthly tasks:
- Lint screen washed with soap and water until water flows through freely: PASS if water flows through. FAIL if water beads on the surface. Action: scrub and rewash.
- Lint screen inspected for tears or loose seating: PASS if the screen is intact and seats tightly. FAIL if there are tears or loose fit. Action: replace the screen.
- Lint screen housing vacuumed: PASS if the crevice tool comes out without heavy lint. FAIL if you pull out a visible clump. Action: vacuum thoroughly and consider checking the vent itself.
- Exterior vent cap closes fully: PASS if the flap shuts completely when the dryer is off. FAIL if it hangs open. Action: clean the cap or replace it.
Quarterly tasks:
- Visible ductwork has no kinks or flat spots: PASS if the duct is round and smooth. FAIL if there’s any visible deformation. Action: replace the section or unkink it.
- Wall around exterior vent cap is warm but not hot: PASS if warm to the touch. FAIL if hot. Action: check airflow with the tissue test immediately.
- Vent cap flap opens fully while dryer runs: PASS if the flap is horizontal. FAIL if it only opens partially. Action: check for blockage at the cap.
- No new humming sounds when dryer runs: PASS if the sound is normal. FAIL if you hear a deeper hum than before. Action: test airflow.
Semi-annual tasks:
- Tissue paper test at exterior cap: PASS if the tissue stands near horizontal. FAIL if it barely moves. Action: schedule professional cleaning.
- Anemometer reading at the cap: PASS if above 1,800 feet per minute on a short run or above 1,200 on a long run. FAIL if below those numbers. Action: schedule professional cleaning.
- Towel load drying time: PASS if the load dries in under 45 minutes. FAIL if it takes longer. Action: schedule professional cleaning.
Annual tasks:
- Professional vent cleaning: PASS if completed on the schedule your vent run length demands. FAIL if you’re overdue based on the run length categories above. Action: schedule it. This is the thing that actually prevents fires.
Common Mistakes to Avoid
- Assuming a clean lint screen means a clean vent. The lint screen catches a fraction of what passes through the dryer. The rest leaves the dryer as airborne fibers and settles inside the vent. A clean screen simply means your screen is working. The vent still accumulates lint.
- Using the dryer as a fire warning system. By the time you notice the dryer taking longer to dry clothes, the vent is already restricted enough that the dryer is overheating. You want to catch restriction before the drying time changes, using the tissue test or anemometer.
- Treating every home’s schedule as the same. We’ve covered this, but it bears repeating: an Orlando home with a 25-foot vent run through the attic needs cleaning twice as often as a home with a six-foot direct run. The calendar doesn’t know your vent geometry. You do.
- Pushing a bird nest or debris deeper with a DIY rod. If you’re using a rod or brush kit from the side of the house and you hit resistance, don’t push harder. You may be compacting a blockage or pushing a bird nest deeper into the vent. That’s the point to call a professional with an auger system.
- Ignoring the transition duct. The flexible piece between the dryer and the wall is the most common point of failure in Orlando homes. It gets crushed when the dryer gets pushed back, and a crushed transition duct restricts airflow before the main vent even matters.
- Cleaning from only one end. A vent with multiple elbows can have lint caked in each bend. Cleaning from the dryer side only pushes some of that lint toward the exterior, where it gets stuck in the next bend. A proper cleaning works the entire run from both ends.
- Assuming a newer home means a clean vent. Newer Orlando tract homes actually have the opposite problem: longer runs, more elbows, and sometimes construction debris left inside the vent from the original build. We’ve pulled drywall dust, paint chips, and even plastic wrappers out of vents in homes that were less than five years old.
See the difference
 Before
 After
After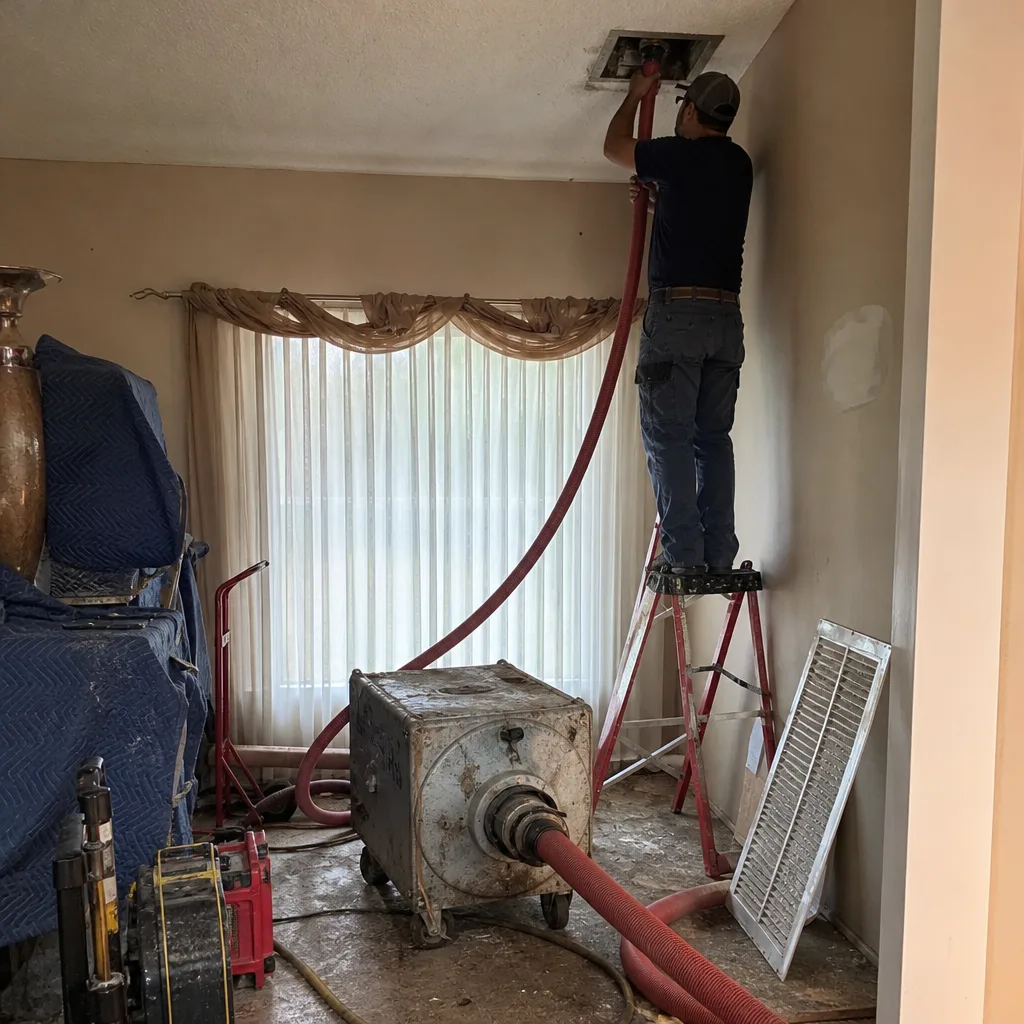 Before
 After
After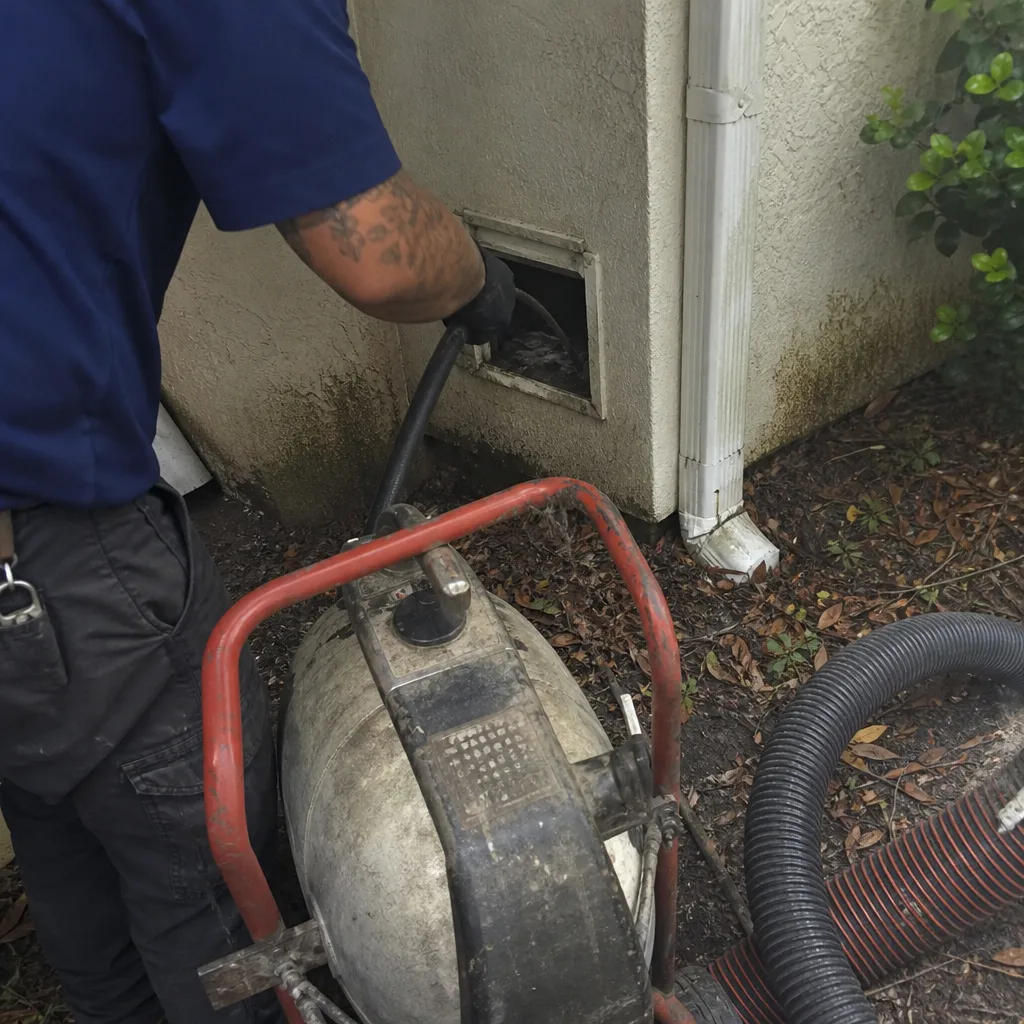 Before
 After
AfterWhen to Call a Professional
Call a professional when your tissue test fails, when your anemometer reading drops below the pass threshold, when you can see a bird nest or blockage at the cap that won’t clear, when the dryer is producing a burning smell, or when you’ve hit resistance trying to clean the vent yourself. These are signs the vent has a blockage or a caked layer that a DIY brush kit won’t remove. A professional auger system can clear the entire run from both ends, including the bends that hold the fire hazard material. Cardinal Air Duct Orlando offers free estimates for dryer vent cleaning in Orlando. Call (850) 750-6095 and we’ll assess your vent run length, check the airflow, and give you a written price before any work begins. That price doesn’t change at the door.
Frequently Asked Questions
Dryer vent cleaning in Orlando typically costs between $120 and $250 for most residential vents, with longer runs and harder-to-access caps at the higher end of that range. The price depends on the vent length, the number of elbows, and whether the cap is on a roof versus a side wall. Cardinal Air Duct Orlando provides a written price before we start, so you’ll know the exact number before any work begins. Call (850) 750-6095 for a free estimate.
A clogged dryer vent shows up in five ways: clothes take longer than 45 minutes to dry, the dryer exterior feels hot to the touch, the laundry room is more humid than usual, a burning smell appears while the dryer runs, and the exterior vent cap flap doesn’t open fully during operation. Any one of these is a warning sign. The tissue paper test at the exterior cap gives you a definitive answer in under a minute. If the tissue barely moves, the vent is restricted.
Florida building code, following the International Residential Code, limits dryer vent runs to 35 feet maximum, with each 90-degree elbow reducing that maximum by 5 feet. So a vent with three elbows should not exceed 20 feet. Many Orlando tract homes exceed the code-recommended lengths because builders compromise on the ideal path to keep the laundry room in a convenient central location. If your vent is over 20 feet with multiple elbows, it needs cleaning more frequently than the standard annual schedule.
For short, straight runs under 10 feet with easy exterior access, a DIY brush kit can remove loose lint. For longer runs, runs with multiple elbows, runs with vertical sections, or runs where you can’t reach the exterior cap, DIY kits leave the caked lint layer behind, and that’s the layer that burns. The risk with DIY is thinking you’ve cleaned the vent when you’ve only cleared a path through the loose material. A professional auger system removes the caked layer, which is why the National Fire Protection Association recommends professional cleaning for most homes.
The transition hose between the dryer and the wall should be replaced every 5 to 7 years, or sooner if it shows kinks, crush marks, or tears. If it’s a foil accordion type, replace it now with semi-rigid aluminum. The main vent run, if it’s rigid metal, doesn’t need replacement unless it’s damaged or you’re renovating. If you have a foil accordion duct serving as your main vent run, replacement is the highest-impact safety upgrade you can make to your dryer system.
Two cycles to dry clothes means the dryer’s heat is building up and the airflow is too restricted to carry it away. This is almost always a vent problem, not a dryer problem. The vent has accumulated enough lint that the dryer is now cooking against a wall of resistance. Continuing to run the dryer in this condition shortens the life of the heating element, wastes energy, and increases the fire risk with every load. The fix is a professional vent cleaning, and in most cases, it solves the problem immediately.
The Bottom Line
Dryer vent fires in Orlando are a maintenance failure, not a product failure. The checklist that prevents them isn’t complicated: wash the lint screen monthly, check the exterior vent flap quarterly, test airflow at the cap twice a year, and get professional cleaning on the schedule your vent run length demands. What actually predicts your risk is the geometry of your vent, and in Orlando’s newer tract homes, those runs are longer and more convoluted than most homeowners realize. If you don’t know your vent run length, measure it. If you know it’s long, clean more often. If you’re not sure what you’re looking at, call (850) 750-6095 for a free assessment. We’ll tell you what you have, what it needs, and what it costs, all before any work begins.
Written by Omar Haddad, Owner at Cardinal Air Duct Orlando, serving Orlando since 2005.